Easiest Video Editing Software for PC
Whether you prefer to shoot with a smartphone, DSLR or mirrorless camera, it’s never been easier to capture video and beam it to all of your friends and family. Nearly everyone can shoot video, but raw video isn’t fun to watch, before you push Send or let folks gather around your TV or laptop, you’ll want to make sure your footage is share-worthy. Most of them are not professional, they need the easiest video editing software to turn our footage into movies. A lot of Video Edting Software all carry the claim of being “easy video editing software for PC” or “simple video editors” when being described by the their respective marketing departments but the truth is they have become progressively more difficult to use. I have been asked on a number of forums and through this site to recommend some truly simple video editing programs or an easy video editor that anyone can use. Now I will show you one of the Easiest Video Editing Software for PC – Gilisoft Video Editor

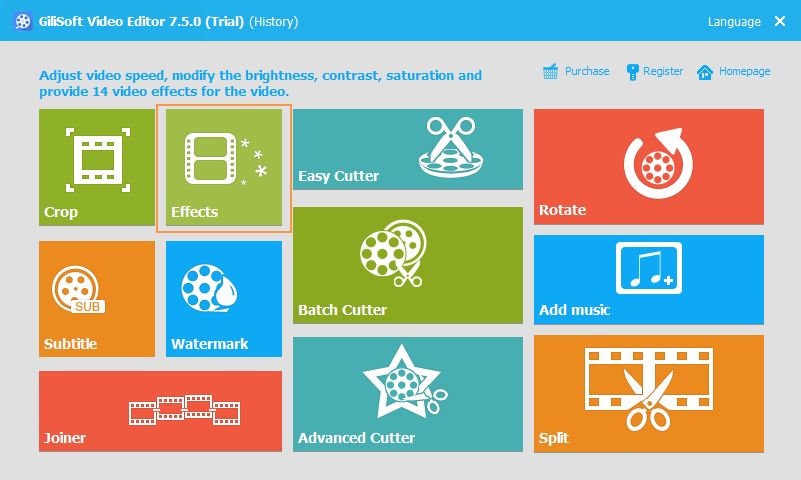
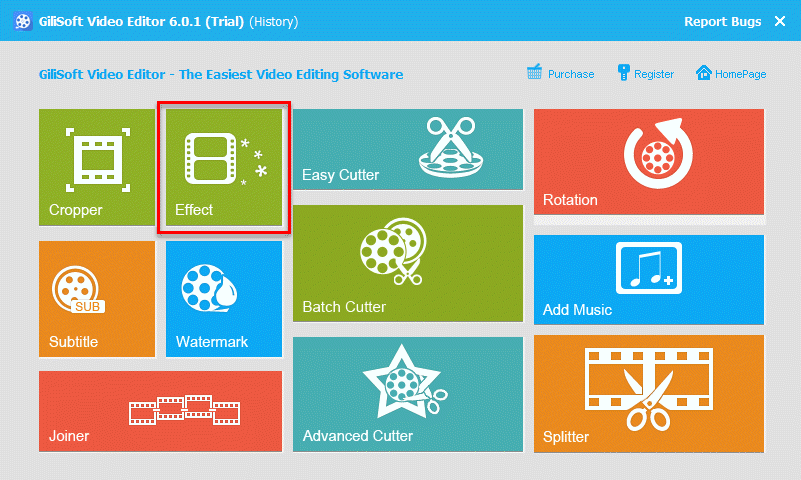
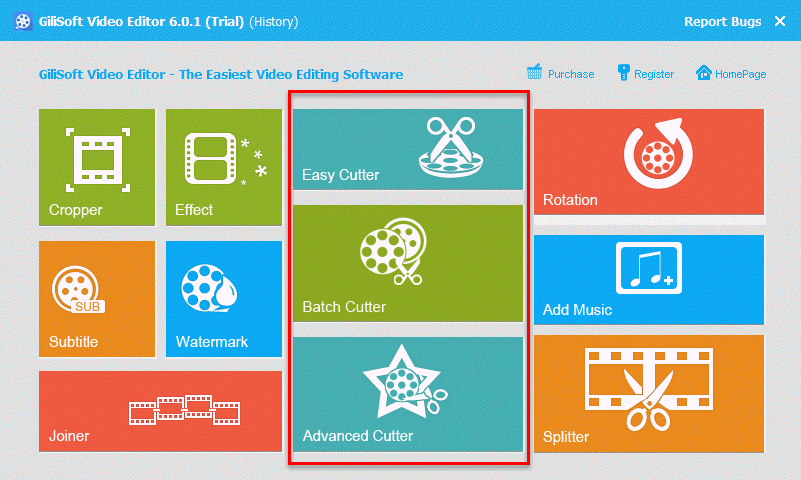
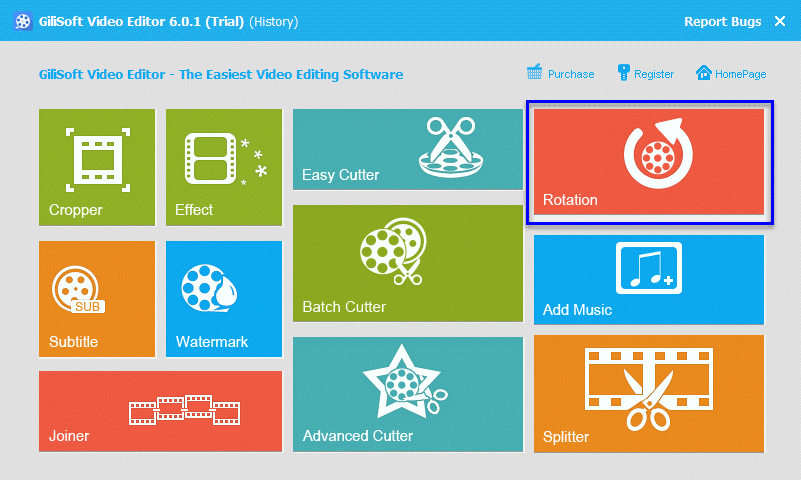
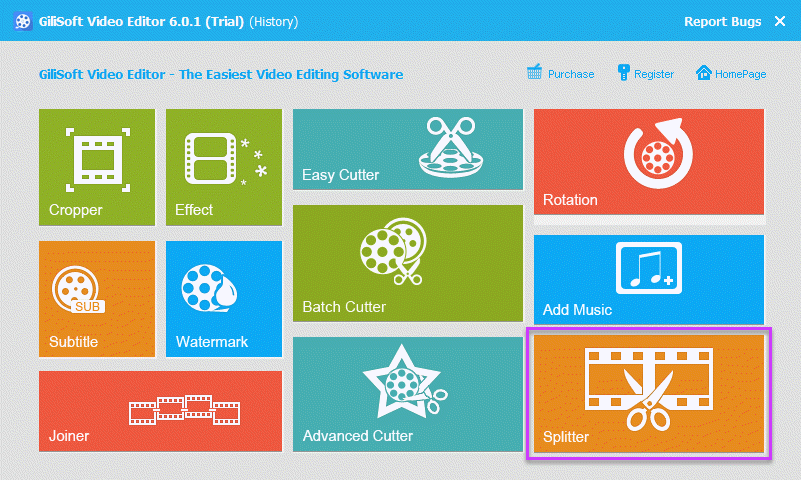
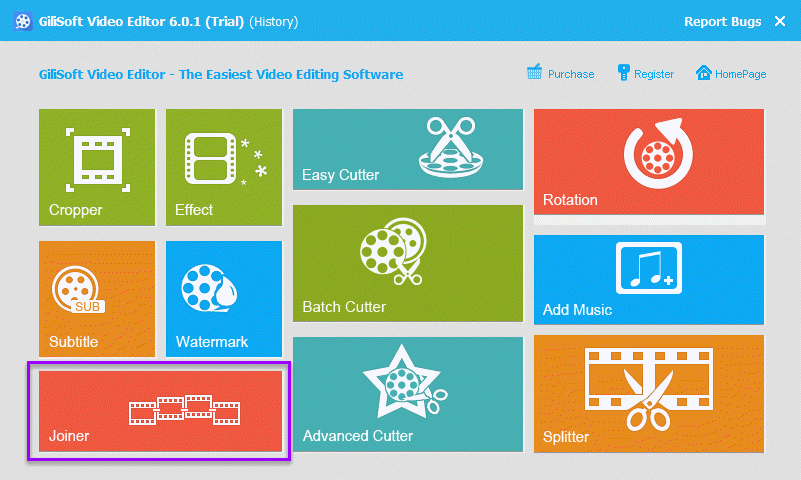
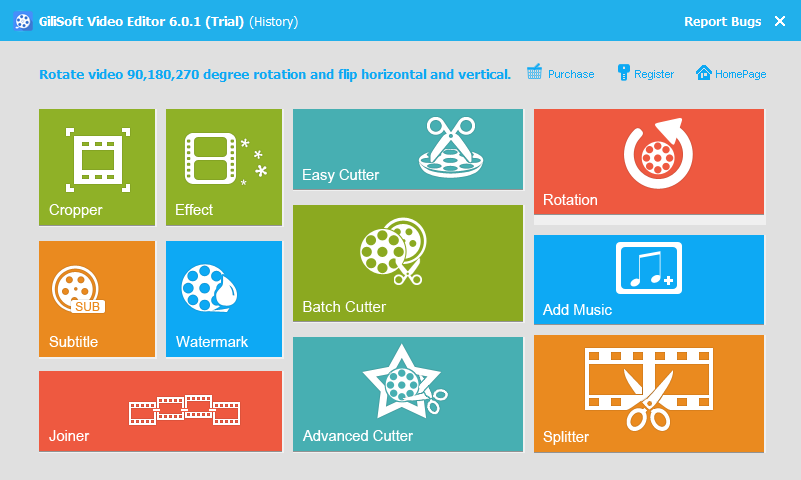
Easiest Video Editing Software for PC – Gilisoft Video Editor
Mix Videos in One
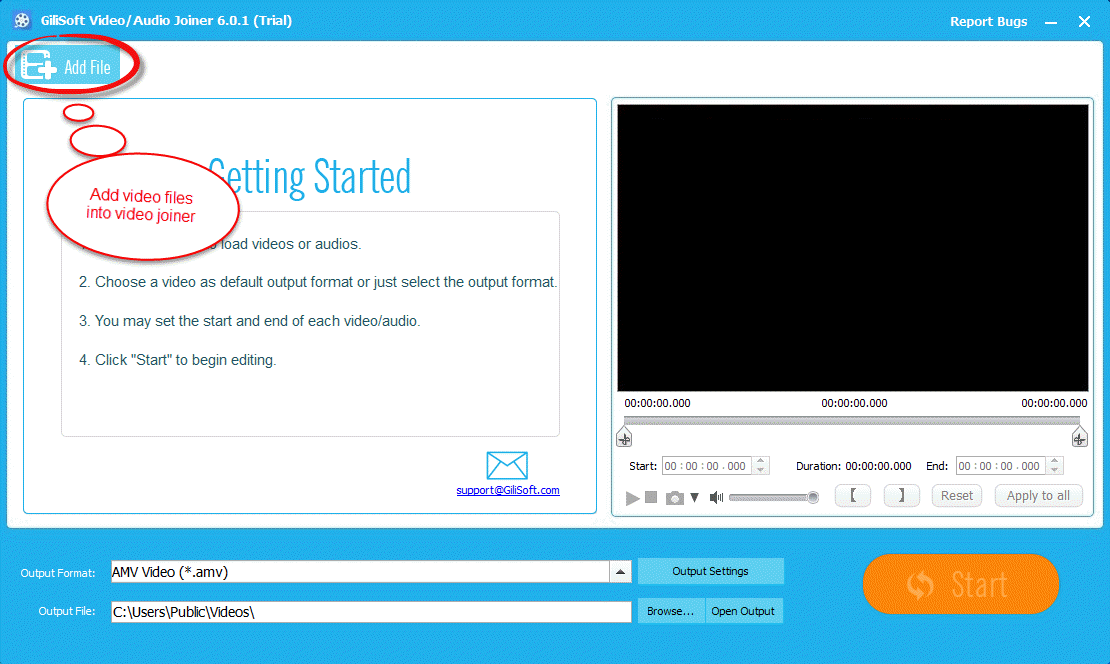
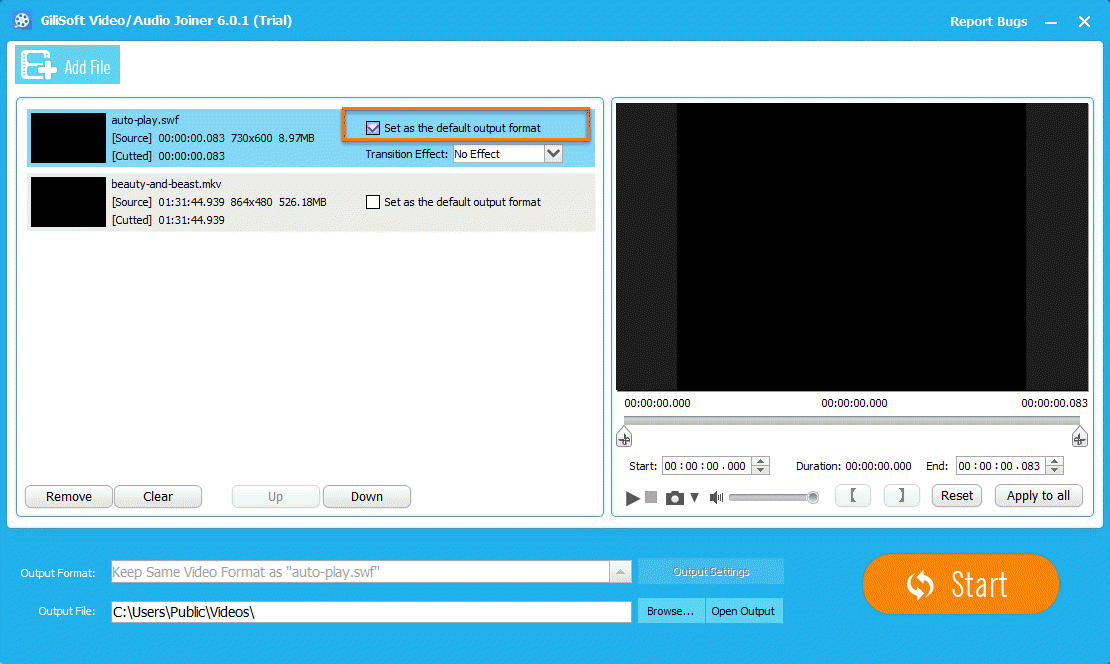
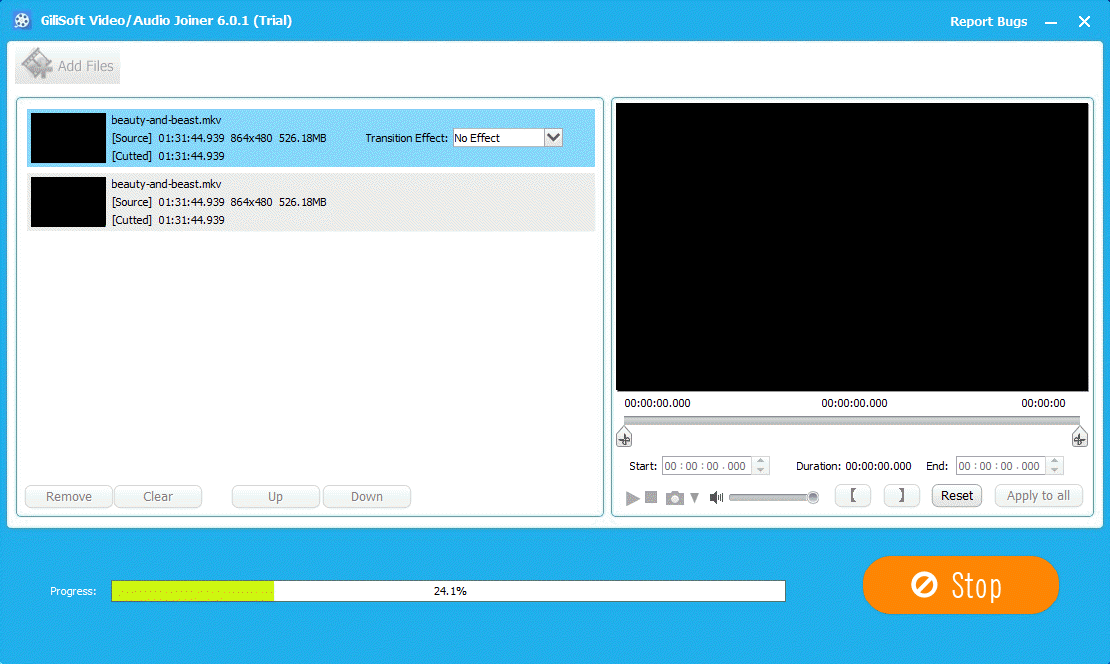
Powerful video joining tool helps you join or merge multiple videos file into a large one. Support joining same or different video formats.
Add subtitle to videos at will! No need to separate! Now with Renee Video Editor, you can merge subtitle file with video and create a new video.
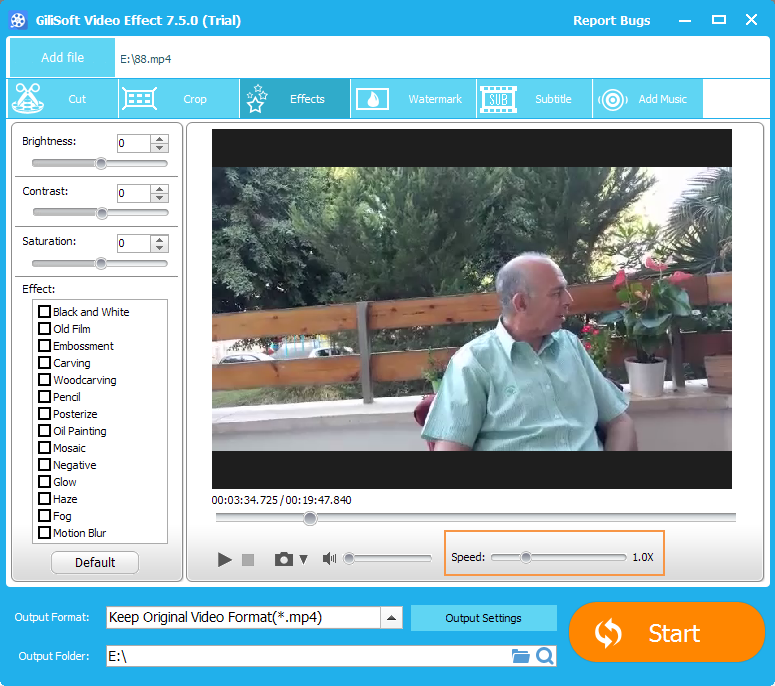
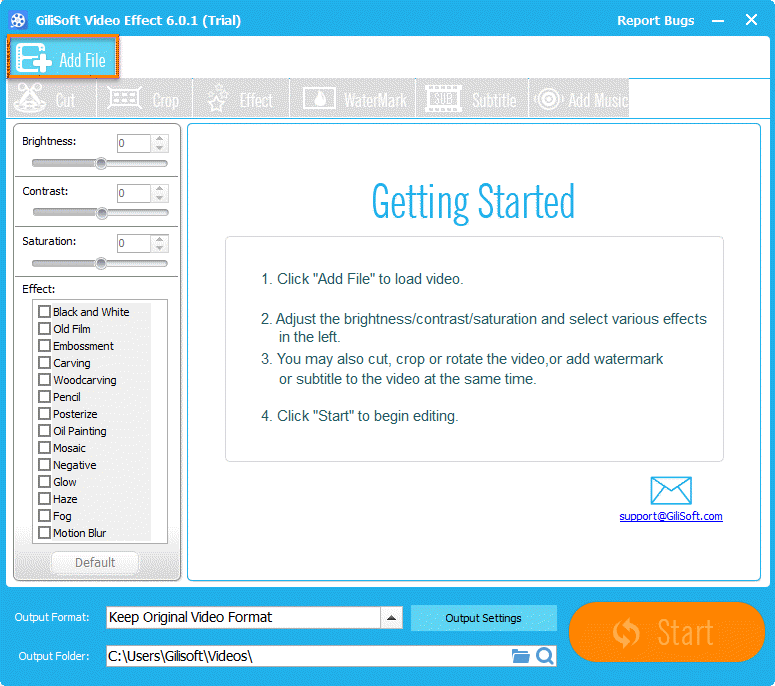
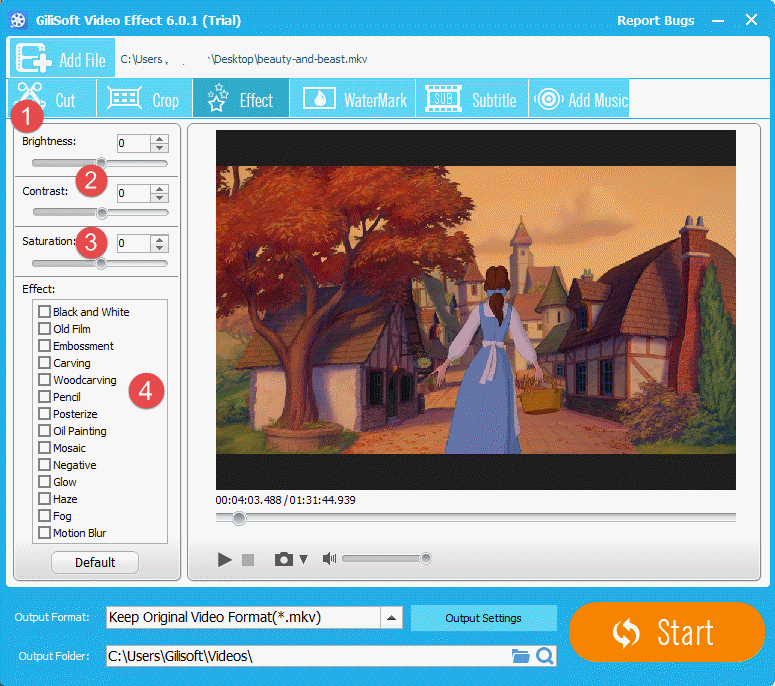
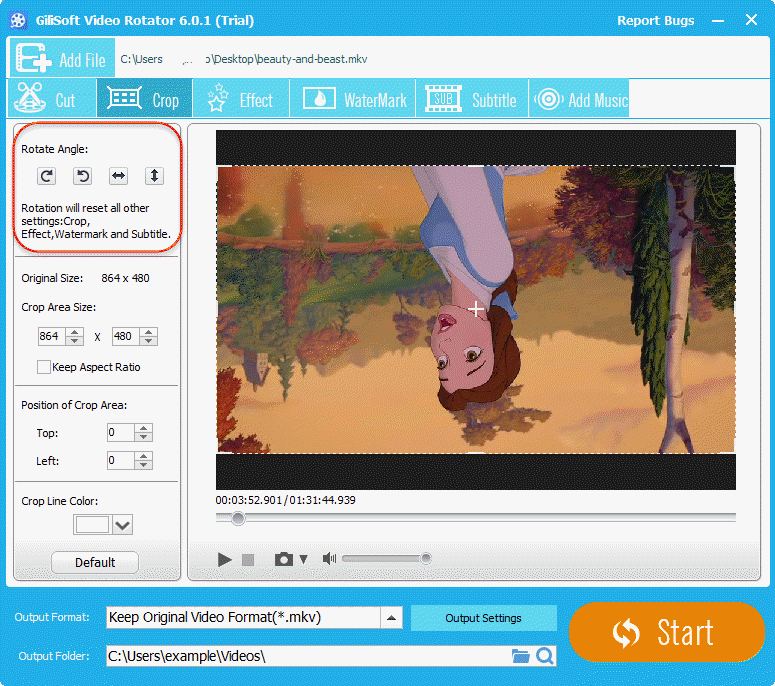
Built-in 14 special effects can change the video style at once. Support instant preview. And you can adjust the brightness, contrasts and saturation.
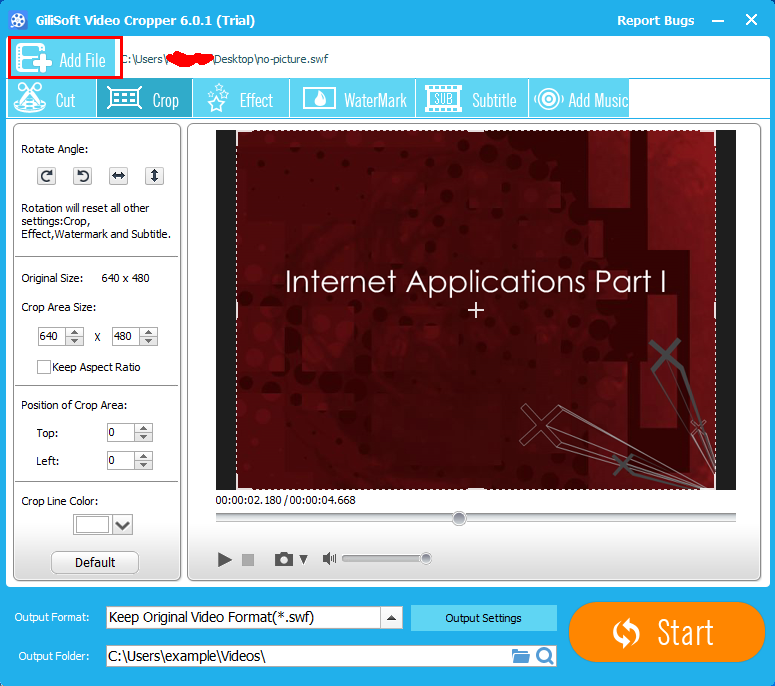
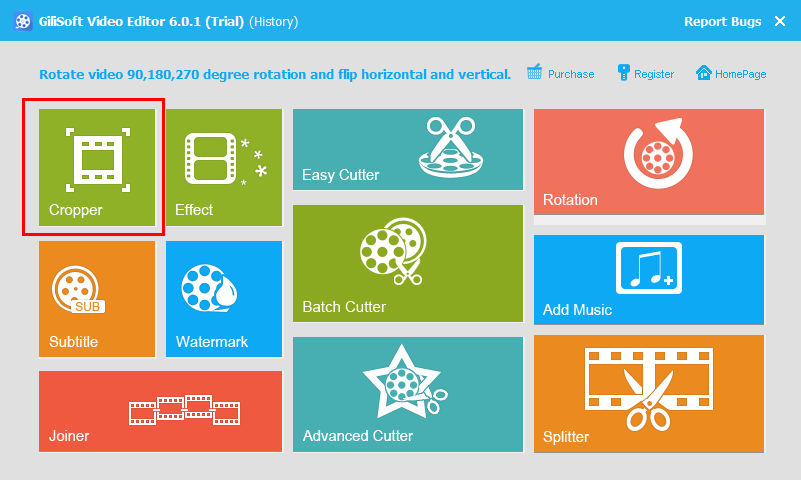
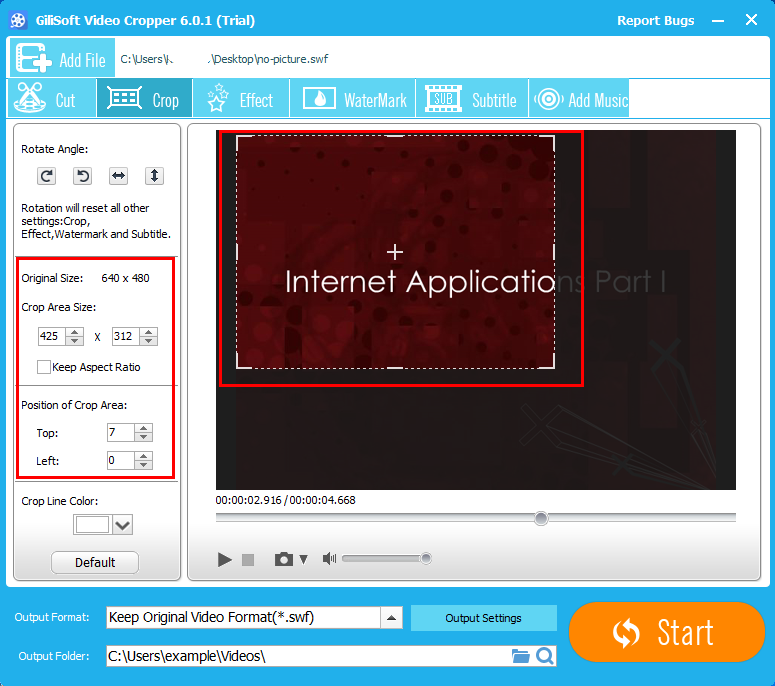
Remove any unwanted area from your video! Like the black bars, crop the videos with large dimensions to fit the small screens and more.
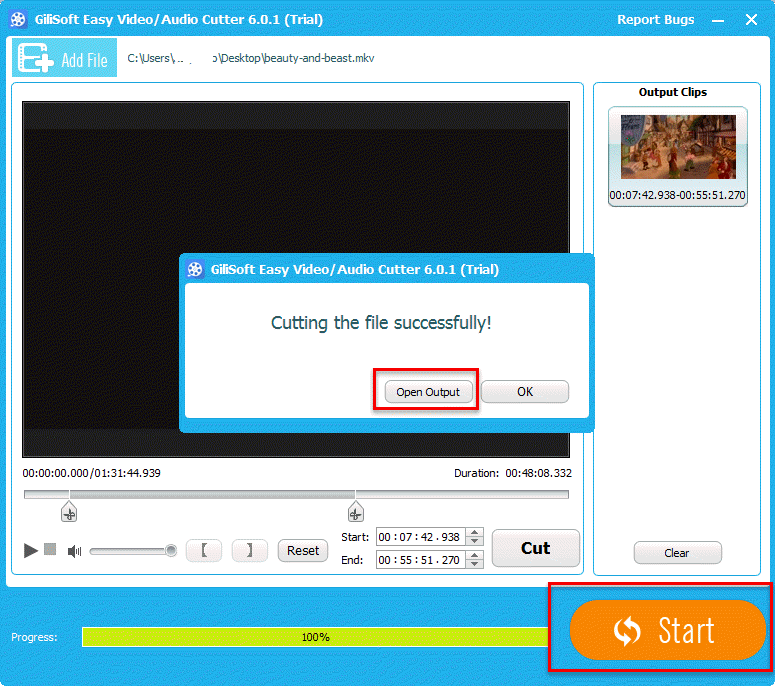
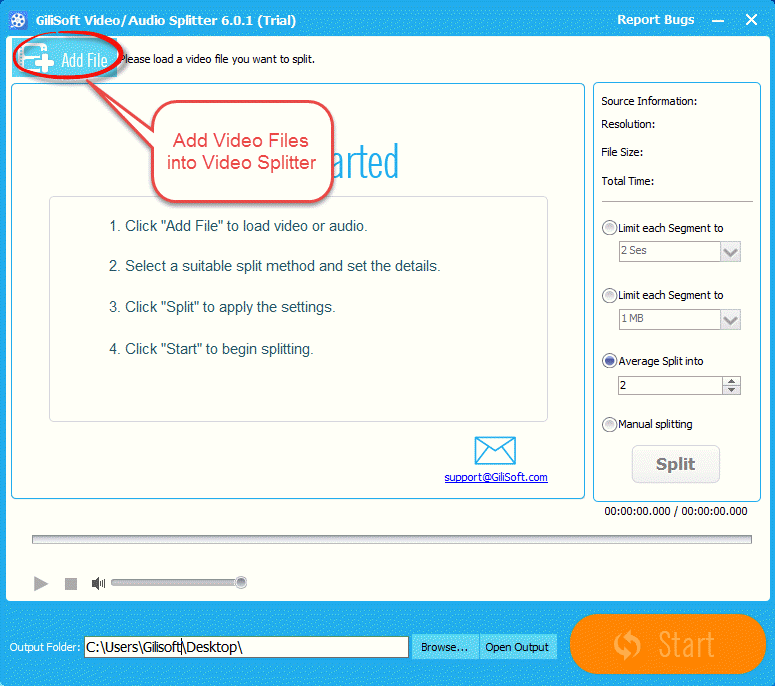
Support split videos or audios into several parts, remove unwanted part and edit at the same time. You can divide the files according to the size or time.
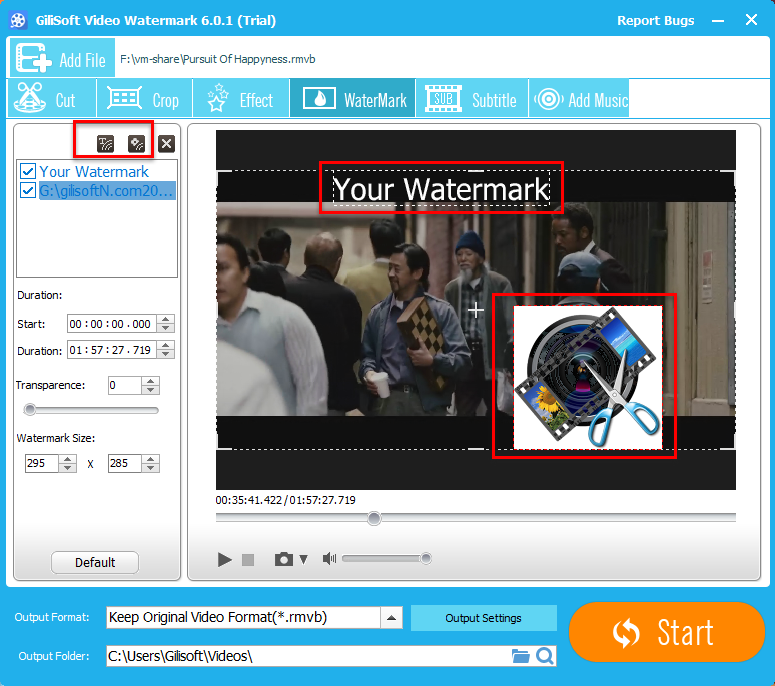
No matter you want text watermark or picture watermark, Renee Video Editor can fulfill this requirement. You can add the watermark on whole or part of the video.
Music sometimes plays an important part in video. Support adding music to your silent video to make it more attractive. Support multiple music file formats.
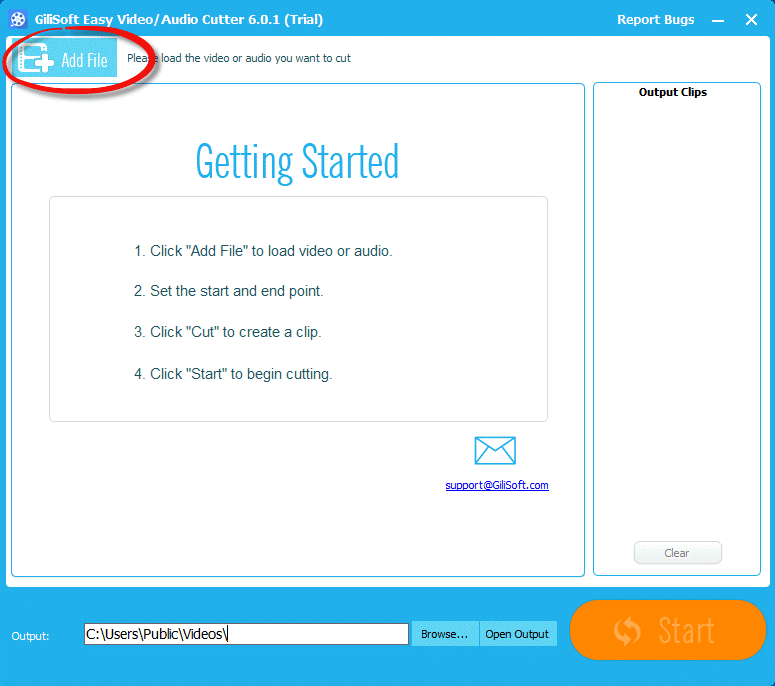
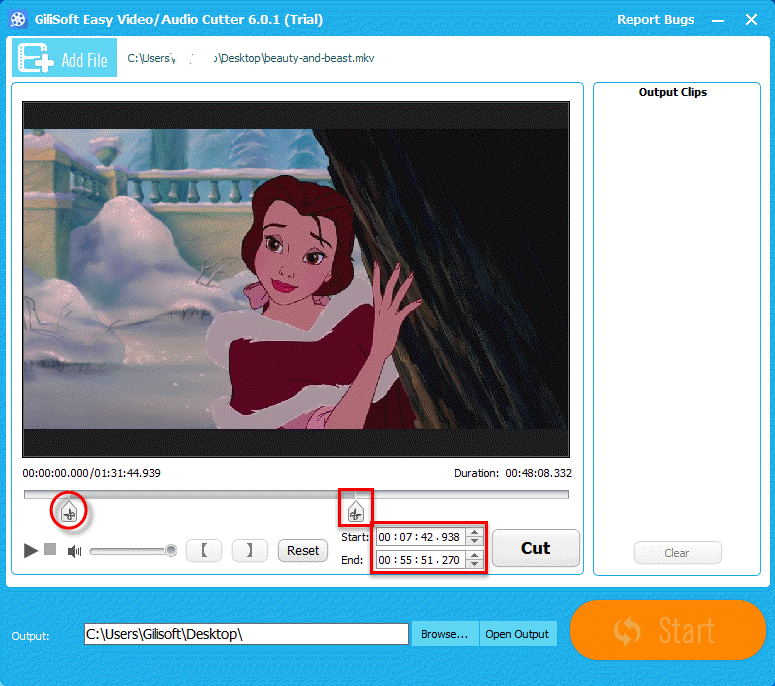
Shot far more frame than you actually need? Want to choose the best part to edit? Gilisoft Video Editor Easiest Video Editing Software for PC helps you save the part you want without quality lost! Download and Enjoy it Now!
![]()