
 How to Password Protect a File in Windows 11, 8, 7, Vista, and XP
This article provides the user with knowledge on how to password protect computers and folders. It explains how this can be done on various versions of Windows.
The article explains how important it is to protect files with passwords and also the ways in which you can protect your password. You can create a file consisting of your passwords and then make a back-up of this file. The process of password protection is described on the following versions of Windows: Windows 7, Windows 10, Windows 10,1, and Windows XP along with its Home Edition. You may also protect your password with a compress tool such as GiliSoft File Lock.
This article provides a quick and easy way to password protect files in Windows 11, 8, 7, vista, and XP. Gilisoft File Lock Pro does exactly that, and it does it easily and well. Just start protecting your files, folders and disk drives with File Locker, please download the File Lock software via button below:
The following steps will tell us how to use Gilisoft File Lock Pro to password protect files in Windows 11, 8, 7, Vista, and XP.
Step 1: Right-click on a file and select "GiliSoft File Lock Pro", and then select "Lock (Deny read+write+run)".

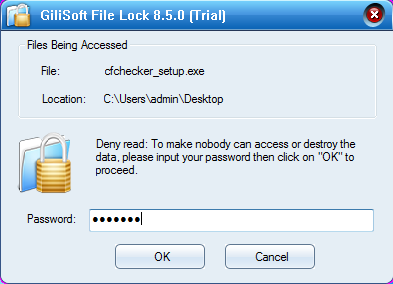
Step 2: You will be asked to enter your password for Gilisoft File Lock Pro when try to password protect a file. And then the file will be protected and others can't access it without authority.

 Password protect files, folders and disk drives.
