
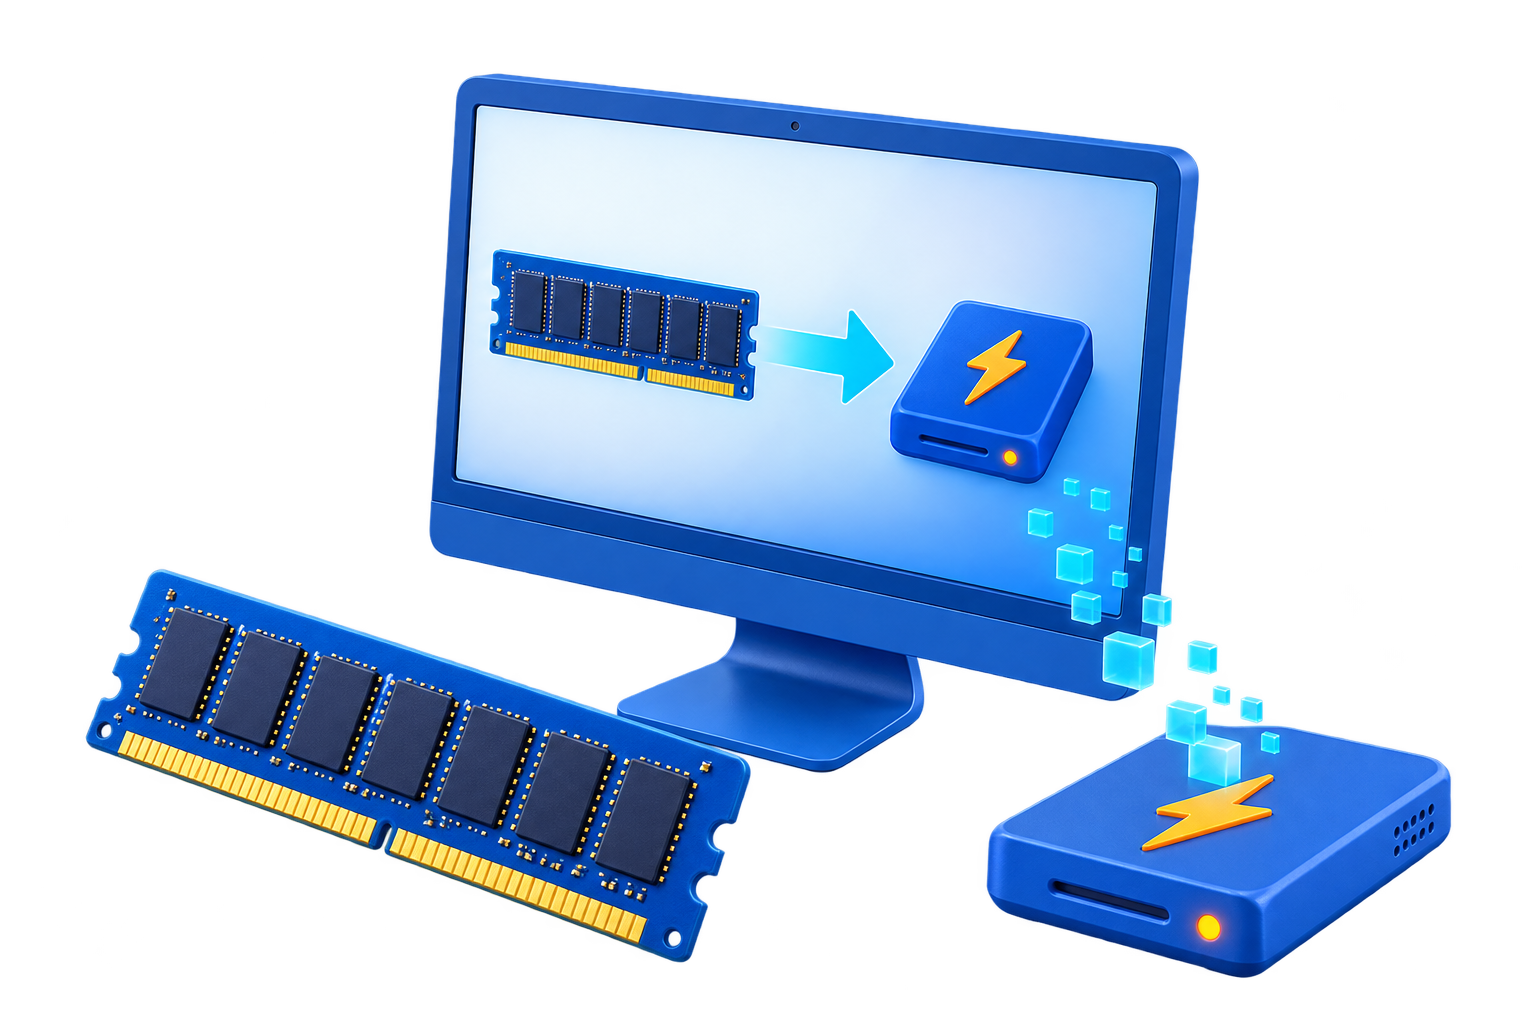
How to Create and Use a RAM Disk on Windows
Use GiliSoft RAMDisk to turn spare physical memory into a drive for cache, temporary files, and other working data. Follow the creation wizard, choose whether to save an image, configure loading and saving, and learn how to remove the drive without losing files you need.
How do you create a RAM disk?
Open Create a RAM Disk, choose a size and unused drive letter, then decide whether to enable Create an image before selecting Complete. Test the mounted drive before redirecting an application's working folders. A RAM disk uses existing memory; only contents successfully saved outside memory can be loaded again later.
Before You Create a RAM Disk
Install GiliSoft RAMDisk and check the installed version's system requirements. Keep important originals on permanent storage, and start with disposable test files rather than an active project.
- Leave enough memory available
- Check your normal workload with Windows and your applications running. Allocate only spare physical RAM, not memory those programs need.
- Reserve a stable drive letter
- Choose a letter not used by another local disk, removable device, or network share. Keep that letter consistent if applications will use its paths.
- Plan the working capacity
- Choose a size that fits the temporary data you expect. A full RAM disk can interrupt a cache, render, extraction, or build job.
- Keep images off the RAM drive
- Store a saved image and any backup on a permanent SSD or hard drive with enough free space, not inside the volatile disk itself.
About the screenshots: these supplied GiliSoft screens use an older Windows appearance. Follow their control labels and purpose; do not copy the pictured 74 MB size, B: letter, or C:\1.img path as required settings for your computer.
Choose the RAM disk size, letter, and file system
Open GiliSoft RAMDisk and select Create a RAM Disk. Choose Create a new RAM Disk, then click Next. Select a file system, an unused drive letter, and a size in MB that leaves enough memory for Windows and your applications. Click Next to choose how the disk's contents will be stored.
Start a New Disk, Not an Existing Image
The first wizard page offers two different workflows. Select Create a new RAM Disk and set its file system, drive letter, disk size, etc. for a new drive, then select Next. Use the image-mounting workflow instead when you already have saved contents.
Set File System, Drive Letter, and Size
Choose from the file systems offered by your installed version, select an unused Drive letter, and enter the capacity in Size(MB). Review the memory information before selecting Next. The screenshot's FAT32 selection is an example, not a requirement for every workload.
Choose temporary or image-backed storage
On the final wizard page, leave Create an image unchecked for a disposable RAM disk, or enable it and choose an image path on a permanent SSD or hard drive. Add a description if useful, then select Complete. If the contents must return later, configure saving and verify the image before relying on it.
Disposable Temporary Storage
Leave Create an image unchecked when the files can be recreated. This suits a test workspace or cache whose loss is acceptable. Once the RAM disk's memory is released, unsaved contents are discarded.
Image-Backed Storage
Enable Create an image, select a permanent-storage Path with Browse, and add a useful Description. Choose this when a saved set of folders or files should be available for a later session.
Choose Complete to finish. For an image-backed drive, the image is the saved copy and the mounted RAM disk is the working copy. Creating an image once does not mean every later change has already been written to it.
Saving is separate from loading. Configure a save policy or use the app's Save control when you need current contents again. Keep a separate copy of irreplaceable files; an image cannot preserve changes that never reached permanent storage.
Configure Automatic Image Loading and Saving
Open Options in the main GiliSoft RAMDisk window. Choose loading, saving, and backup behavior independently, then select OK to apply your choices. Use a disposable file to verify the result before depending on automatic operation.
- Load the last image
- Auto-load the image mounted last time loads saved starting contents. It is not a save command and does not show an automatic empty-drive creation option.
- Restart or shutdown
- Save the image when restart or shut down requests an image update during a normal restart or shutdown. It cannot run after unexpected power loss.
- Sleep or standby
- Save the image when execute Sleep or Stand By is the event option shown in the screenshot. Verify the behavior on your actual Windows setup; the picture does not name a separate hibernation setting.
- Backup before saving
- Back up the image before saving it is a separate option for retaining an earlier image state. Check the backup produced and keep needed copies independently.
- Periodic saving
- Save the image every ... minutes provides interval-based saves. Unsaved changes made between successful saves can still be lost.
- Real-time backup
- The illustrated label is Back up the image in real-time. Review its result on a test disk; it is not proof that every in-memory write is instantly durable.
Do a controlled persistence test. Copy a disposable test file to the drive, save the image, wait for completion, and reload it after a normal restart or manual remount. Check that the test file and expected changes are present. Do not test by deliberately cutting power.
Open the RAM drive and test its working folders
Open the mounted drive in File Explorer or through the RAMDisk Explore control. Create a test folder, copy a disposable file into it, and confirm that it opens. Create the cache or temporary folders you need, then point a supported application setting to that location and verify that new working files appear there.
Use the main window's Explore it control or open the assigned drive letter in File Explorer. Try a harmless file first. For application work, create a named folder such as R:\CacheTest or R:\BuildTemp, using your actual drive letter instead of R: if it differs.
- Change one application's working path first
Use the application's supported cache, scratch, temporary-output, or build setting. Note its original path so you can restore it later. Moving files onto the RAM drive alone does not redirect the application's future writes.
- Confirm that the folder is being used
Restart the application if its setting requires it, run a small task, and check that new files appear in the intended folder. Watch free space and the computer's remaining memory while the workload runs.
- Plan what happens after removal
Before removing the drive, restore the application's normal path or stop the task that depends on it. An unavailable temporary path can cause application errors even when the discarded files were unimportant.
- Browser cache
- Use a documented cache-location option for the browser you actually run. Keep profile data, passwords, and documents separate from disposable cache.
- Build and test output
- Put reproducible compiler output or test artifacts on the RAM drive while source code and project configuration remain on permanent storage.
- Media scratch and preview files
- Redirect only the cache or scratch data that your editor supports recreating. Keep source media, project files, and final exports elsewhere.
- Extraction and intermediate work
- Use temporary copies when the job fits the disk. Move any finished result you need to permanent storage before deleting the drive.
Load an Existing RAM Disk Image
Use Mount an image file in the main window, or choose the image-mounting option on the first creation-wizard page. Browse to the saved image on permanent storage, follow the remaining mount prompts, and use an available drive letter.
When the drive appears, open it and check its folders and a known test file. Confirm that you mounted the intended image, not an older copy. Keep the source image path available for future saves and loads.
If you need the same saved starting contents after Windows starts, review Auto-load the image mounted last time. Loading an image restores what that image contains; it does not recover changes that were never saved.
Save required data and remove the RAM disk
Close applications using the RAM drive and copy files you need to permanent storage. If you are using an image, save the current contents and wait for saving to finish. Select the RAM disk and use Delete / Remove RAM Disk. Read any confirmation or save prompt before continuing, then check that the drive has disappeared.
- Stop work that depends on the drive
Close open files and applications using the RAM disk. Restore any cache or temporary paths that should return to their original location.
- Keep the contents you need
Copy required results to a normal SSD or hard drive. If retaining an image, use Save, wait for the operation to finish, and check the saved image's location. Do not rely on a later prompt as your only saving step.
- Remove the selected RAM disk
Use the main window's Delete / Remove RAM Disk control for the intended drive. Review any confirmation and save choices, then check that the drive letter is no longer present. Deleting the memory drive is not a secure-erasure operation for images or backups on permanent storage.
Unsaved contents are discarded. Check the files copied out or the image you saved before confirming removal. Keep important originals outside the RAM disk throughout the workflow.
Final Setup Check and Troubleshooting
The Computer Slows Down
Check available memory with the real workload running. Reduce the RAM disk allocation if Windows or applications need that memory. A RAM disk is useful only when its benefit exceeds the cost of reserving RAM.
The RAM Drive Is Full
Stop the affected job and inspect its temporary data. Clear only files the application can safely recreate, adjust its cache limit, or choose a more suitable workspace. Do not remove files that are still in use.
The Drive Does Not Appear
Check for a drive-letter conflict and sufficient available memory, then review the creation or mount result. When loading an image, confirm its path exists and is readable.
Files Are Missing After Restart
Check the image path and successful save time. Auto-load may have restored an older saved state; enabling loading alone does not save the latest session.
Image Saving Fails
Verify write access and free space on the permanent destination. Keep the image off the RAM drive itself, wait for saving to finish, and preserve any earlier image or backup you still need.
An Application Still Uses the SSD
Verify its actual cache or temporary-path setting, restart it if necessary, and confirm where new working files appear. Some application data will remain on normal storage by design.
Before relying on the setup, confirm the drive letter, working capacity, remaining memory, application path, save policy, and a successful reload of disposable test data.
RAM Disk Questions and Answers
How much RAM should I allocate to a RAM disk?
There is no universal size or percentage. Check memory use with your normal applications running, leave enough headroom for them and Windows, and start with a small disposable test drive. Increase it only when the workload needs the space and the computer still has comfortable available memory.
Will RAM disk files survive a restart or power failure?
An unsaved RAM disk loses its contents when its memory is released. An image-backed disk can reload data that was successfully written to its image, but later unsaved changes can still be lost. Saving at shutdown does not protect against sudden power loss or a crash, and an image is not a substitute for independent backups.
Does automatic loading also save my current files?
No. Auto-load the image mounted last time loads a saved image; it does not save the current session. Choose the appropriate save or backup options separately and test the result with disposable files. The screenshot with only auto-load checked is not an automatic empty-disk creation setting.
Why did files disappear, or why is my loaded image out of date?
Check whether the disk was created without an image, whether recent changes were saved, and whether you loaded the intended image path. Confirm the save completed and that the destination had sufficient space and write access. Stop making changes to an image you still need while you check your available copies or backups.
Can I use a RAM disk for browser cache, builds, or scratch files?
Yes, when the application provides a supported path setting or documented option. Use it for disposable cache, temporary output, or other data you can recreate. Keep originals and irreplaceable project files on permanent storage, size the RAM disk for the working data, and restore the application's normal path before removing the drive.
Why is the RAM drive not present after Windows starts?
Check the automatic image-loading option, the last image used, and whether its permanent-storage path is available. Confirm that enough memory and the intended drive letter are free, then try mounting the image manually. The supplied Options screenshots show image loading, not a separate empty-drive creation schedule.
Will a RAM disk make every application or game faster?
No. It helps only when suitable storage access is a bottleneck and the application actually uses the RAM drive. It does not add physical memory, speed up a CPU or GPU, or guarantee more game frames per second. Allocating too much memory can make the overall workload slower.
Does a RAM disk eliminate SSD writes or replace permanent storage?
No. Disposable work redirected into memory can avoid some corresponding SSD writes, but image saves and backups write to permanent storage again. The benefit depends on the workload and save policy. Keep permanent storage for originals, applications, and long-term data.
Is GiliSoft RAMDisk free, and can I follow the screenshots on newer Windows versions?
A Windows trial is available; check the installed version for its current trial limits and system requirements. The guide links to the official purchase page and shows the $39.95 lifetime license for 1 PC. The supplied screenshots use an older Windows appearance, so the visual styling may differ from your installed version.
More RAM Disk Guides by Task
See the GiliSoft RAMDisk product page for the feature overview or the RAM Disk software overview. Choose a focused workflow below when you are ready to redirect a particular application's working data.


